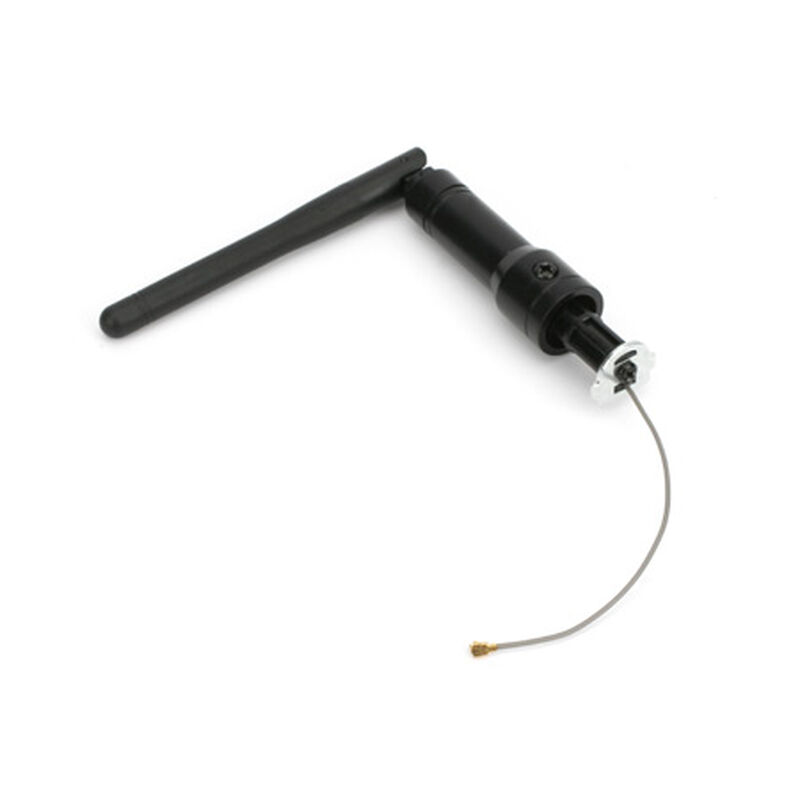
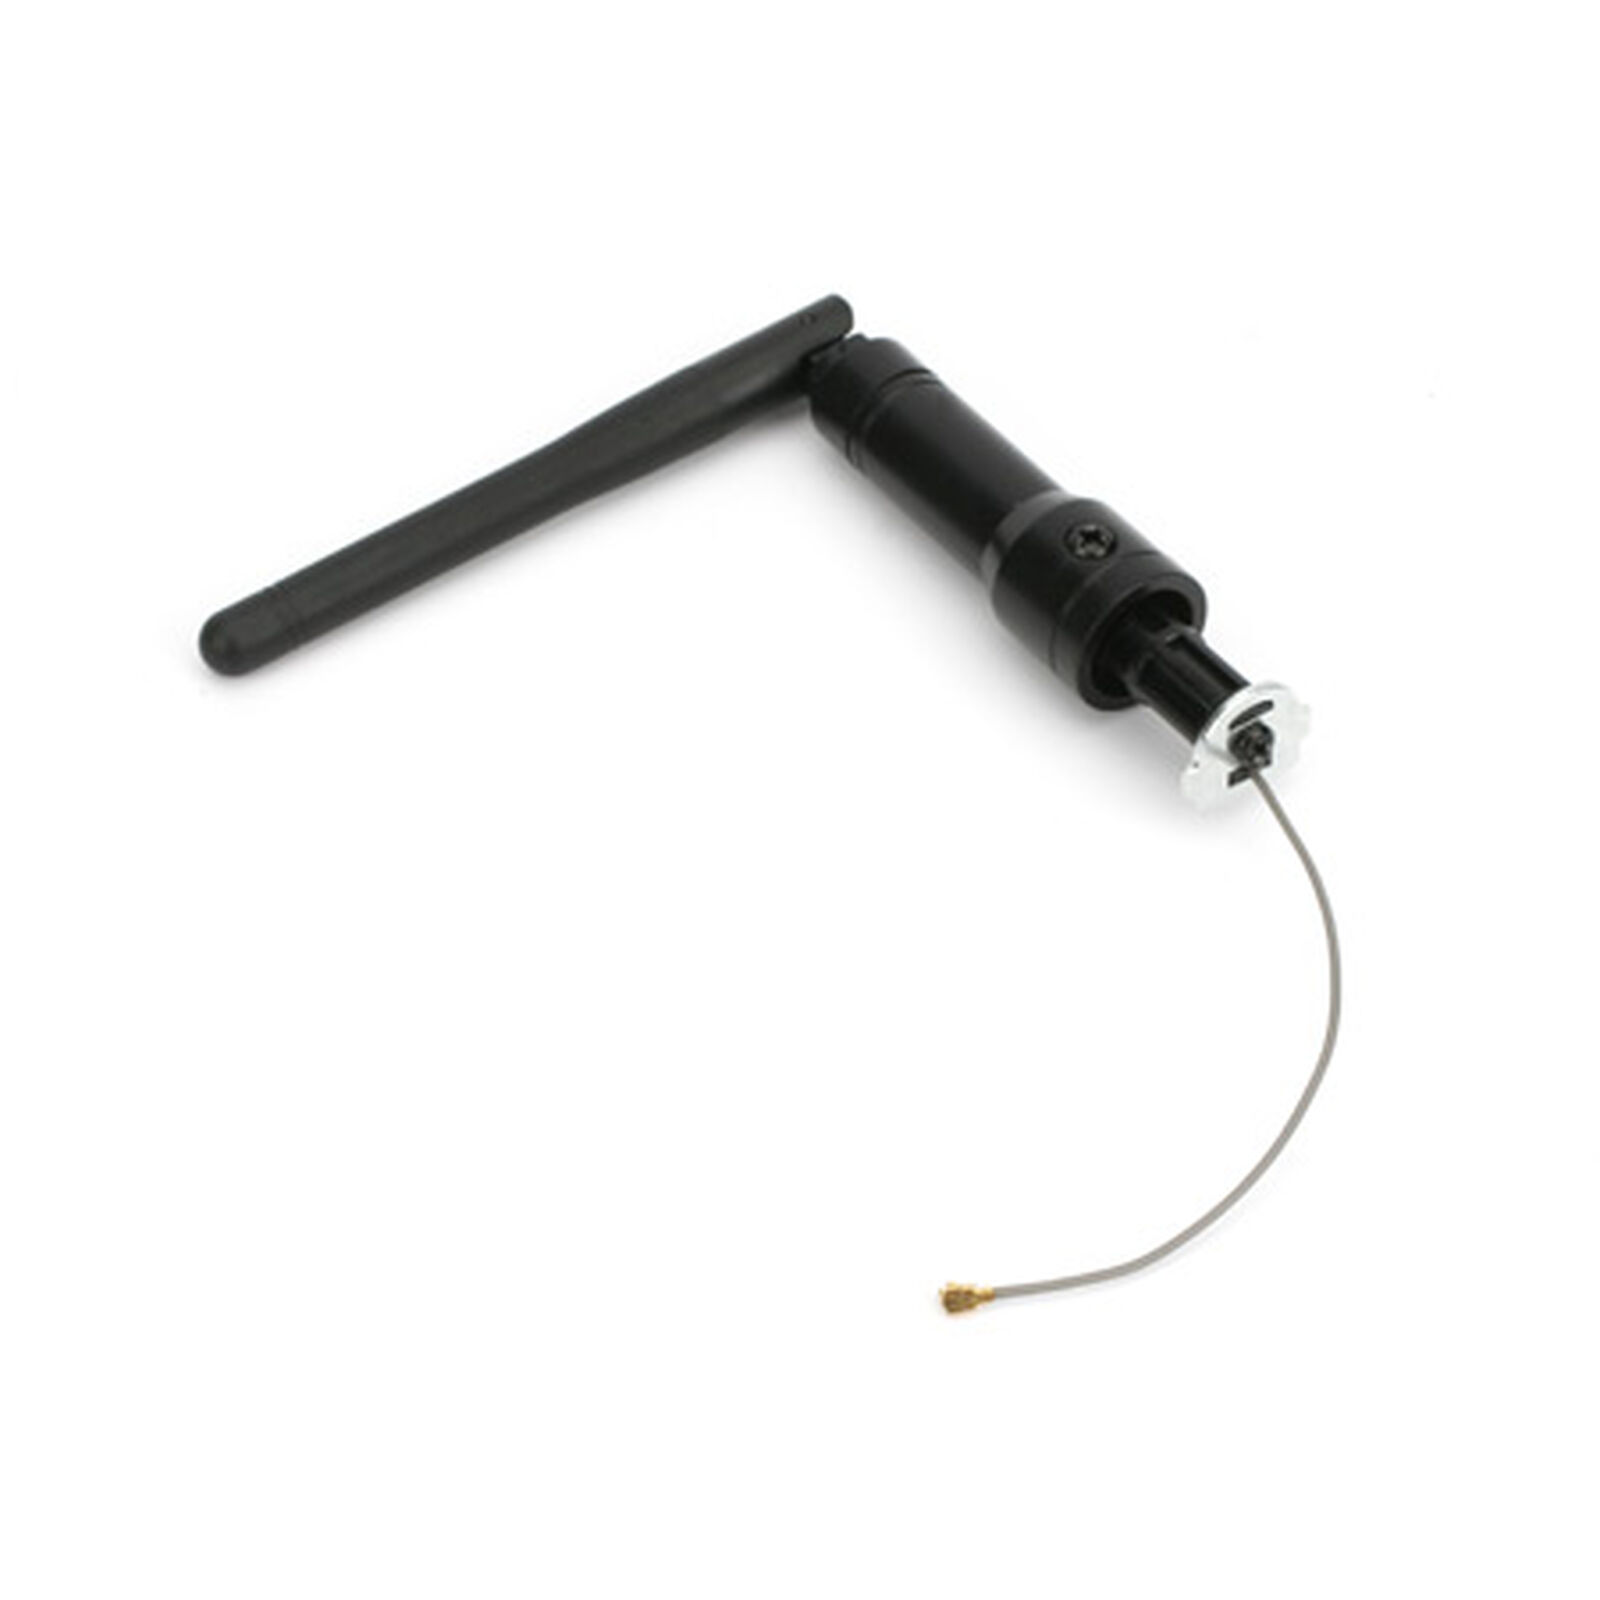
Replacement Antenna: DX6i
4.6 star rating
4.6 star rating 36 Reviews, 1 Q&AsYour question will appear on the site once someone answers it.
- REVIEWS
- QUESTIONS
- All
- 5.0 star rating
- 4.0 star rating
- 3.0 star rating
- 2.0 star rating
- 1.0 star rating
ed antenna, ordered one and waited. Boy, am I glad I did. My soldering skills are pretty sketchy, so I'm a "plug and play" guy. This unit suited me perfectly as there is no soldering needed. If you follow the simple directions, (in several different languages), you'll do this easily. I had the radio open, new antenna installed, and everything back together in 10 minutes, including time to read the directions over before starting. It was a no-brainer, (again, perfect for me).
My only suggestion to modify and simplify the replacement process, involves having a willing assistant present while you do the job. The instructions have you unplug the wiring harness from the inside back of the radio to front once it's open. This allows you to lay down the back half without stressing the wires or electronics board. Simply have your assistant hold the back of the unit and keep stress off those wires for you while you install the new antenna and you'll be able to skip unplugging them. (Follow all the rest of the instructions, including removing the batteries).
The replacement antenna seems to be identical to the original, (with that fragile swivel joint). I've been using the radio and it's all good. I feel this worked so well, it's worth it to buy another, so I'll have a spare just in case a certain part of my body contacts the antenna in an unfriendly way again. Read LessRead less about I leaned over my beloved DX6i one day
I would recommend this antenna to anyone who has broken their old one. It fit perfectly.
Club Points Information
Horizon Hobby RC Club:
The points displayed are points you will earn based on your membership level and the cost value of the product. Be sure you are Signed In to your account to see the most accurate points you will earn on your purchase. Points are awarded and available for use once your entire order has shipped complete.
|
Points per $1 Spent |
Standard |
Legend |
Elite |
|
5 |
15 |
20 |
2000 points = $5 Discount
Not yet a Club Member? Click here to learn more about the RC Club Membership. It's Free!
